Setting up a challenge on Miles with Friends is quick: a couple of minutes to create it, and a few more to invite the people you want along for the ride. That second part is the fun one, because it's what turns a personal goal into something you do together. Here's the whole process, start to finish.
Before you start
Log in with Facebook or your username and password. Once you're in, everything below lives in your account.
Part 1: Create your event (about 2 minutes)
Open MY EVENTS and click CREATE A NEW EVENT. A short form opens right on the page with five fields, and only three of them are required.

Event name (required)
Make it yours: "March Walking Challenge," "Riverside Run Club," "Team Sunrise Steps." A specific name people recognize beats a generic one.
Start date and end date (required)
Pick them from the calendar. A few weeks is a great length for a first challenge: long enough for the miles to add up, but short enough to keep everyone's attention the whole way through.
Goal in miles (optional, but recommended)
A shared target gives everyone something to aim at. "Let's hit 30 miles this month" is a lot more fun to chase than an open-ended log. Just enter the number (30). And aim for something reachable: a goal your group actually hits feels like a win for everyone. (More on choosing the right number in a separate guide.)
Description (optional)
A line about what it is and who it's for. Nice to have, not required.
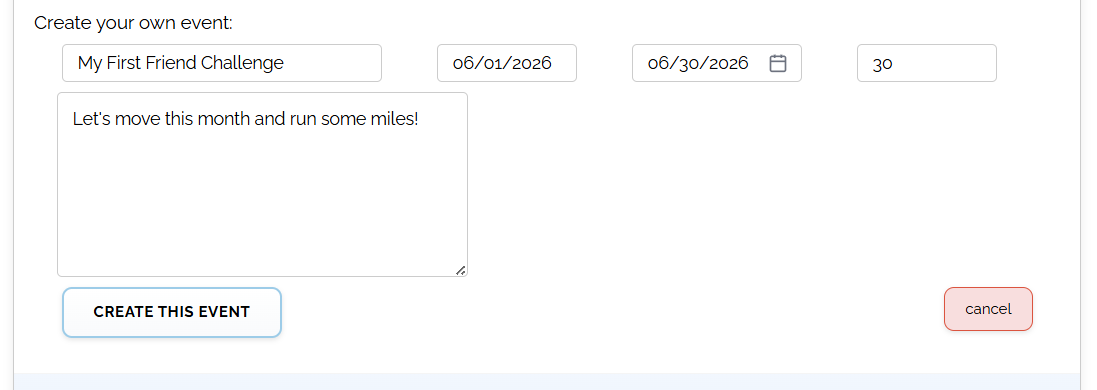
Hit CREATE THIS EVENT and you're live. Your challenge is up and running on Miles with Friends, and you're already in it as the organizer, so there's no need to add yourself.
Part 2: Invite your friends (about 8 minutes)
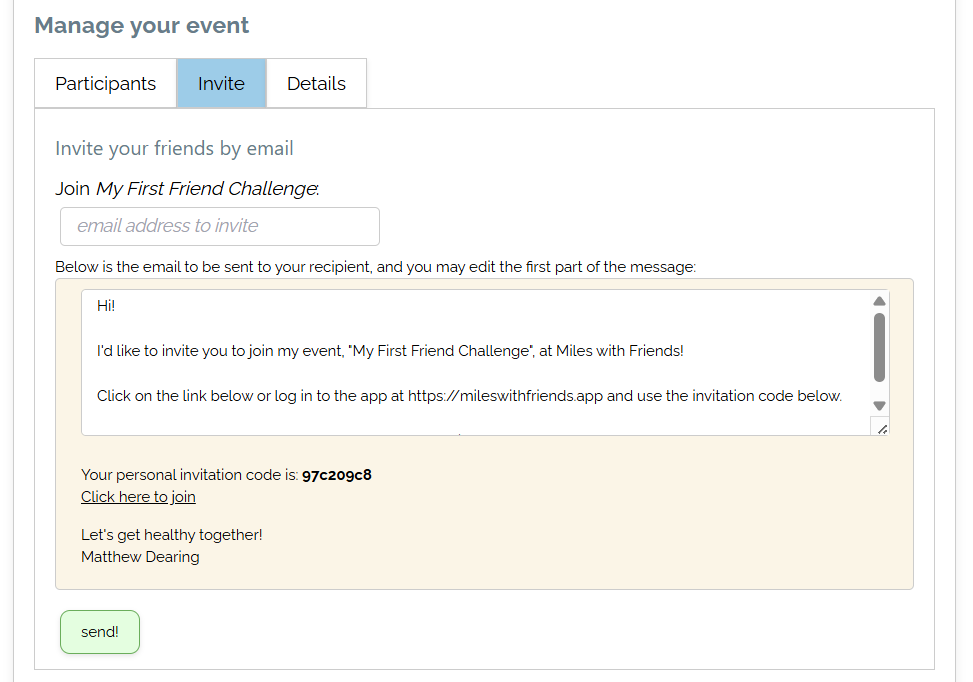
This is what makes your event a real motivational challenge instead of a checklist. Head back to MY EVENTS, pick your new event from the dropdown, and open the Invite tab.
Your personal join link is front and center. Tap copy link and paste it anywhere your group already talks, whether that's a text message, a group chat, or a social post. On your phone, the share... button opens your regular share menu, so you can send the link without leaving the app.
Prefer email? Click or send an email invite just below the link, and a ready-to-go message opens with your challenge name, join link, and personal code already built in. Add a friend's email, drop in a personal note if you like ("doing a little walking thing this month, come join me!"), and hit send. Repeat for each person you want in.
A few things that make a first challenge click
- Start with a few of the right people. You don't need a big crowd. Four or five friends, family members, or coworkers who'll show up make a better challenge than a long list. Invite the people you'd most enjoy doing this with.
- Pick people you'll see anyway. Inviting folks you already text or run into makes it easy to follow up with a "hey, jump in," and a friendly in-person nudge is the most effective invite there is.
- Joining is quick. When friends click your link, they set up a free account and join with one more tap, and their invitation code is already filled in. A quick "it only takes a second to join" heads-up helps any first-timers.
That's it, you're off and collecting miles
A couple of minutes to set it up, a few more to bring your people in, and you've got a real, personalized fitness challenge going. From here it's the good stuff: logging miles, watching the leaderboard climb, and cheering each other on.